Due to its strength, longevity, and energy efficiency, metal roofing has grown in popularity among owners of both residential and commercial properties. A difficult operation requiring careful planning and close attention to detail is installing a metal roof. We’ll outline the procedures for installing a metal roof in this post, along with advice from experienced roofing contractors Heins Contracting.
Step 1: Measure and prepare the roof surface
To calculate how much material you’ll need, measure the roof surface before beginning the metal roof installation. In order to calculate the total square footage, we recommend measuring the length and width of the roof surface. Additionally, you must ascertain the roof’s pitch in order to select the proper kind of metal roofing material.
The roof surface can be prepared by removing any old shingles, nails, or other debris after you have taken your measurements. To level off an uneven roof surface so that the metal panels can be installed, you might need to add a layer of plywood or another type of decking material.
Step 2: Install the underlayment
Underlayment must be put in place first to increase energy efficiency and add an additional layer of protection against moisture before the metal panels can be installed. We advise utilizing a synthetic underlayment since it is portable, strong, and impervious to rips and punctures.
Start at the bottom border of the roof surface and work your way up to install the underlayment. To guarantee thorough coverage, allow each row of underlayment to overlap by a minimum of six inches.
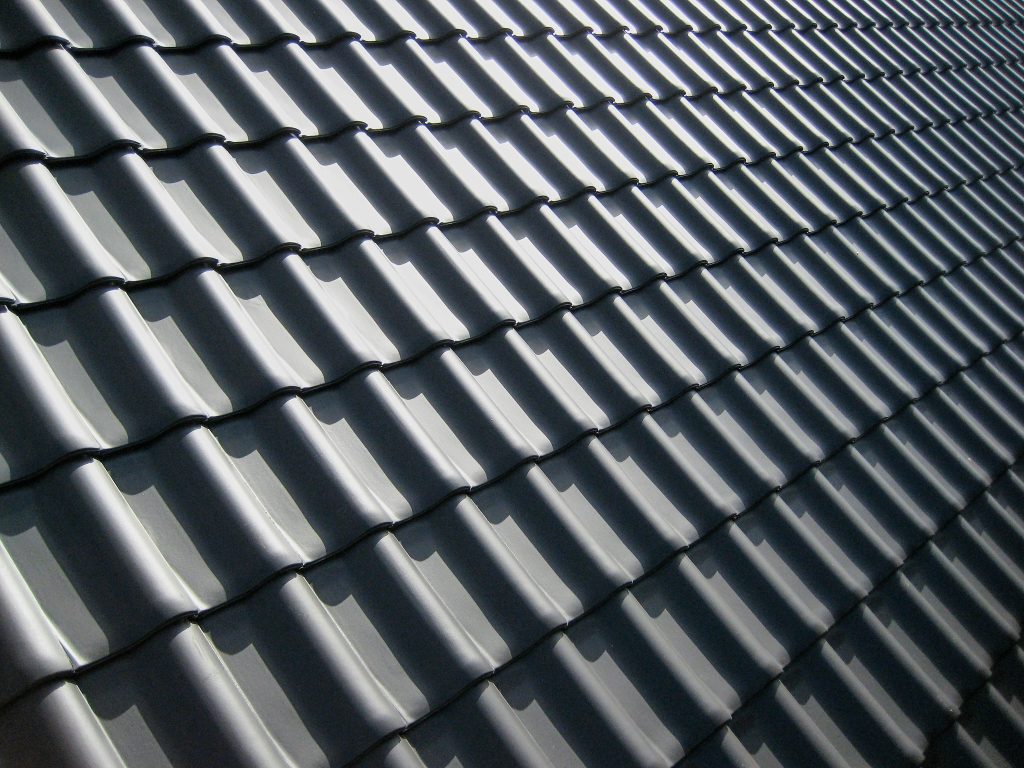
Step 3: Install the metal panels
The metal panels can be put up after the underlayment is put in place. To decrease the number of seams and lower the possibility of leaks, make sure to select panels that are at least 24 inches wide.
Overlap each row of panels by at least an inch as you work your way up from the bottom border of the roof surface. To attach the panels to the roof deck, use screws and rubber washers, being careful not to overtighten them.
Use tin snips or a metal-cutting saw to make the necessary cuts if you need to shape the panels to fit around vents, chimneys, or other obstructions. While cutting the metal panels, remember to put on gloves and safety glasses.
Step 4: Install the trim and flashing
Installing the trim and flashing is the last step in installing a metal roof. These elements are necessary to prevent water from penetrating the spaces between the metal panels and the roof surface.
For a neat and expert finish, we recommend using pre-formed trim and flashing pieces. Install the flashing around vents, chimneys, and other protrusions, as well as the trim around the borders of the roof surface.
Use screws, rubber washers, and sealant to form a watertight seal to hold the trim and flashing in place. When installing the trim and flashing, be sure to adhere to the manufacturer’s instructions, as various types of metal roofing materials may call for various installation techniques.
It can take a lot of time and effort to install a metal roof, but with careful design and attention to detail, it is possible to create a strong, long-lasting roof that can weather the elements and offer benefits for energy efficiency.
To guarantee that your metal roof is done properly and to prevent costly errors that could lead to leaks or other issues in the future, we recommend partnering with a professional roofing contractor like Heins Contracting.